
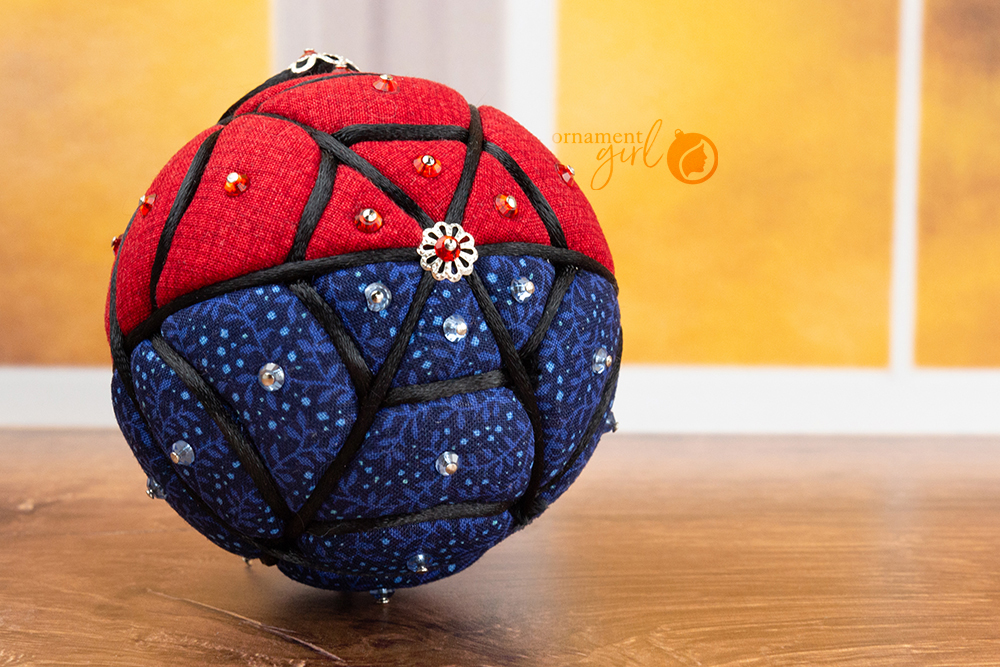
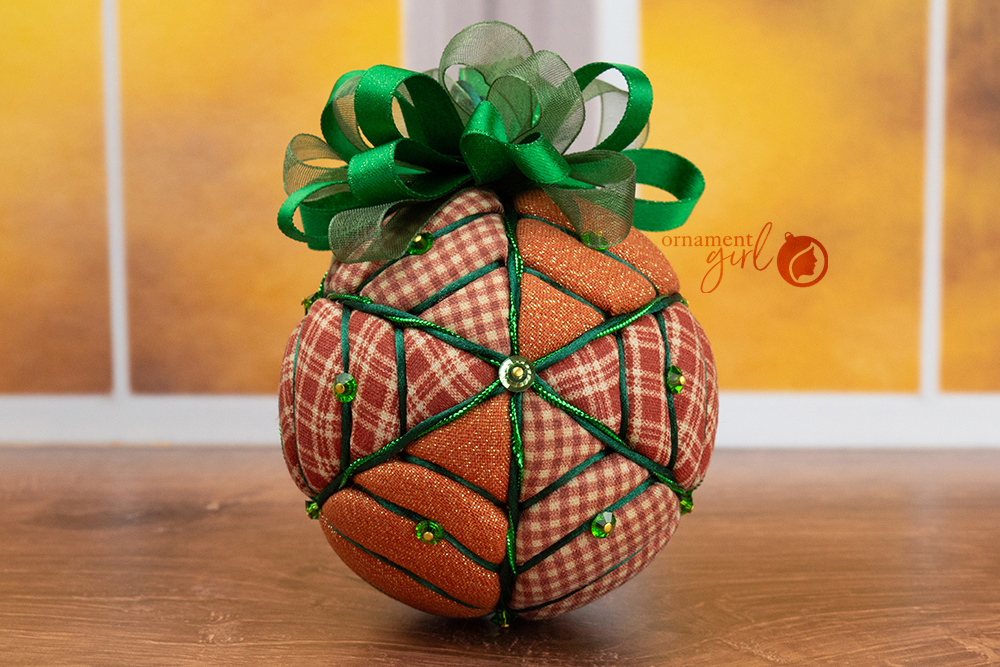
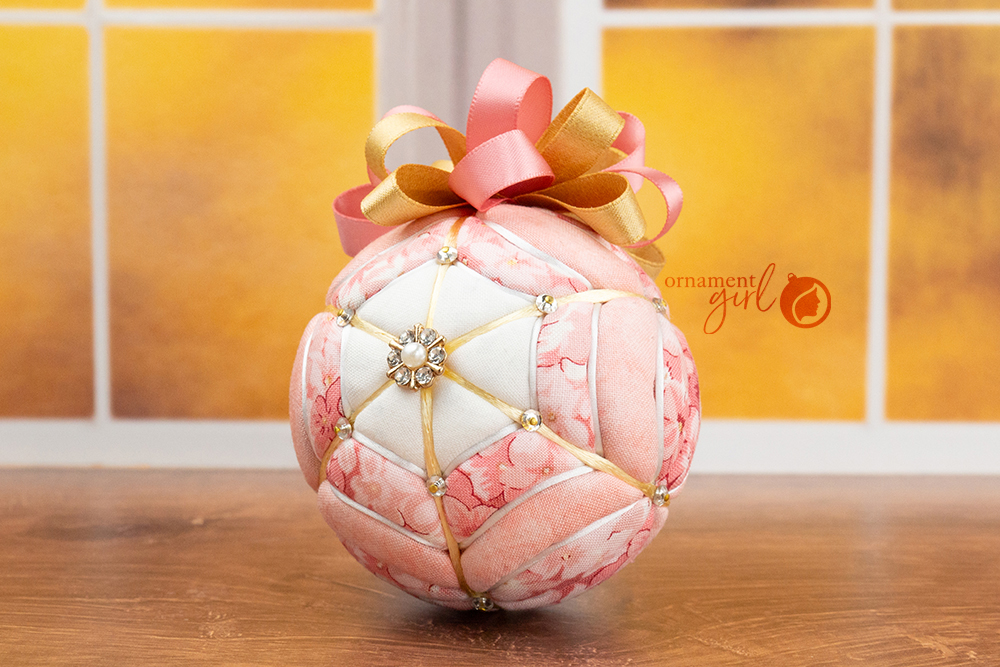
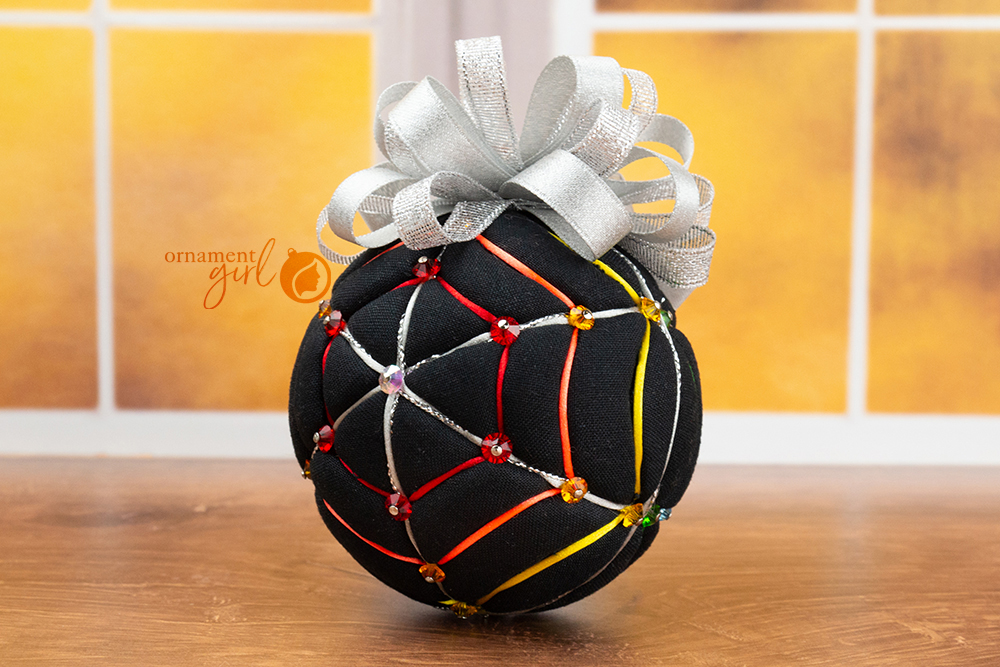
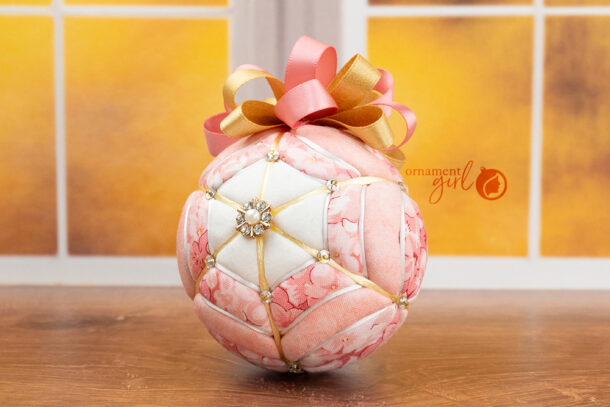
Below you'll find the Printable Supply List, Templates and Video Instructions for the Kimekomi Spiderweb Ornament.
Questions? Please leave them in the comments below.
We hope you enjoy these adorable ornaments!
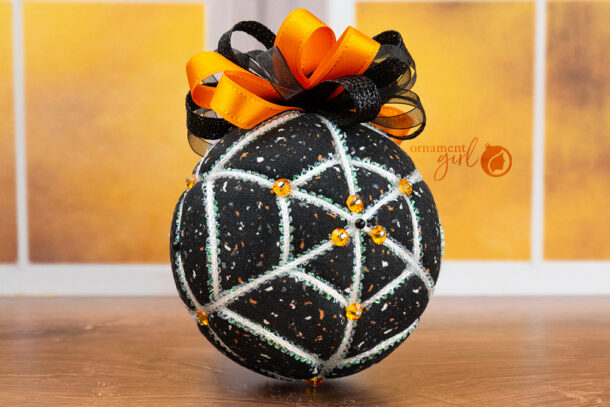
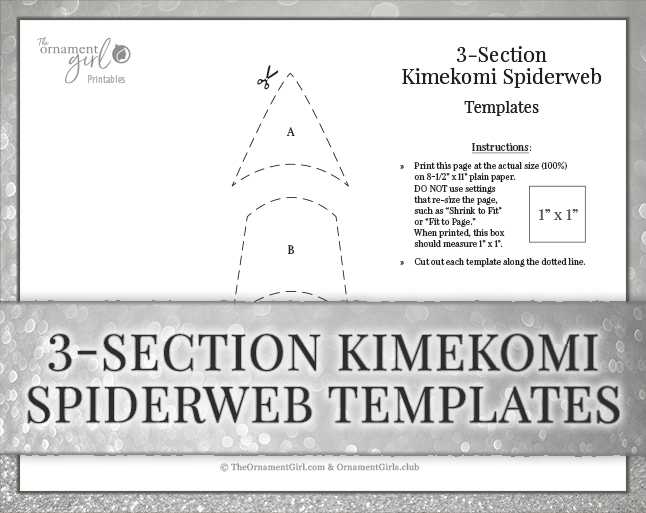
Here are your Printables for the 3 section variation of the Spiderweb Ornament.
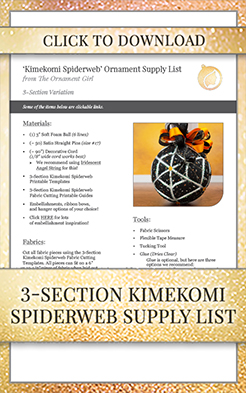
Click on the thumbnail below to open up the PDFs in full-size.
You can also right-click, and choose 'Save As' to save to your computer.
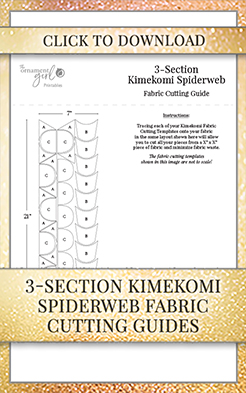
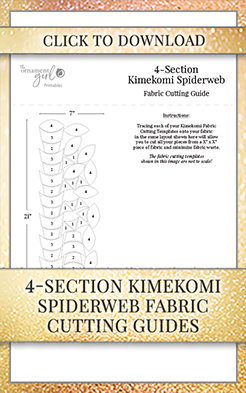
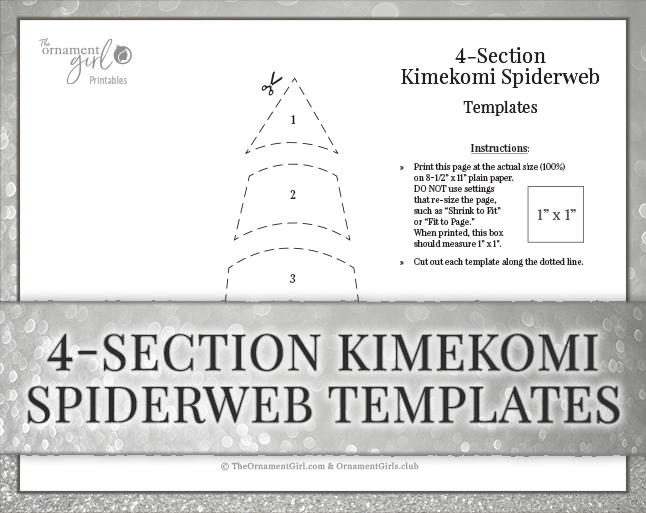
Here are your Printables for the 4 section variation of the Spiderweb Ornament.
Click on the thumbnail below to open up the PDFs in full-size.
You can also right-click, and choose 'Save As' to save to your computer.

---Other Resources---
Pre-Marked Soft Foam Balls with 6 lines
opens in new tab)

---Timestamps---
00:00 Welcome and Supplies
04:04 Tips for cutting fabric
06:12 Mark the foam ball
13:18 Cut the foam
14:58 Tuck in 'A' pieces
19:49 Tuck in 'B' pieces
23:31 Tuck in 'C' pieces
26:06 Add cord
36:45 4 section variation
Ok, how did you make the spider? There used to be one in the shop eons ago. Just can’t put it on the ornament and not say anything about it. That is just teasing us. lol Kidding, but not seriously how did you make it. they would fly out the door if they were in the shop. just saying…. Really want to know it is so cute perfect for halloween and this ornament
Hi Suzanne,
I’m so glad you love Lydia’s spider!
We have a couple of different spider tutorials from previous patterns that might help. You can check out the Itsy Bitsy Spider pattern here: https://ornamentgirls.com/artist/itsy-bitsy-spider/ The spider is at around 29:46.
The Scared Mummy also has a spider tutorial using that kit. https://ornamentgirls.com/artist/scared-mummy/ and the spider is at 12:55
I hope that helps!
Sarah, yes, I saw them both, but thinking about it I think I can fudge one with regular Christmas silver ornament hangers. They are easy to curl and will make it bigger. Thanks for the information.
I hope you’ll share! I can’t wait to see what you come up with!