This video will show you how to use Darlene's cardstock method for packing and shipping ornaments.
Questions? Please leave them in the comments below.
I hope you enjoy these tips!
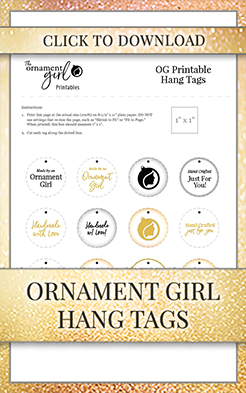
Here are your printables.
Click on the thumbnail below to open up the PDF in full-size.
You can also right-click, and choose 'Save As' to save to your computer.
---Other Resources---
---Video Timestamps---
00:00 Welcome and supplies
03:06 Cut the cardstock
05:28 Make a tube
07:54 Attach tag
09:03 Shipping
10:39 Angels
This is great information, thank you so much! I never would have thought of using cardstock and making a tube. Duh. I appreciate ALL the brains there in the OG family! If I ever get completely comfortable ornamenting again (surgery 9/15/2025 for severe cellulitis in my right hand that I’m still recovering from, in terms of mobility and handling small things like pins and beads), I’ll be broadening my crafting business to include ornaments. I love them and have had many requests for them but the whole cellulitis business really put a damper on my ability to create! (I do NOT recommend cellulitis. Avoid if at all possible!)
I’m so sorry you haven’t been able to craft a full capacity Paula! I hope recovery goes well. You know we’ll be here for you when you’re ready to get pinning again!
This is an awesome tip. Thanks so much. I will definitely be trying this.
I’m so glad you find this tip useful Carol!
Thanks for this tip! I will definitely try this! I agree with Betty above that it would be a great idea to store them also.
I’m so glad it’s helpful!
Hi – Thanks for the good info. What I’ve been doing is double boxing and padding with crumpled tissue paper. I got some 4x4x4 red gift boxes – 50 boxes for $18 on Amazon. There are slots on the sides so I can thread a nice ribbon through (the ribbon comes with the gift boxes) and tie a pretty bow on top. So, I take a half sheet of tissue paper and crumple just the center then I set the ornament on that crumpled part and set *that* into the 4x4x4 red gift box. From there, I can crumple the rest of the tissue paper around the bottom half (or so) of the ornament which holds it in place with the bow protected. Then I close that inner box and tie the ribbon in a pretty bow. I set the red gift box into a slightly larger shipping box (5x5x5 – 40 for $26, Amazon), add a little padding (not much is needed there), and seal that up. It costs me a little over $5 to send that box through the post office using the Etsy shipping label. For the shipping boxes I decided to go with the white cardboard, which is a couple dollars more than the brown, because I liked how they look. When I ship 2 ornaments to the same address, I also got 10x7x5 shipping boxes which hold two of the red boxes nicely. I also slip a thank-you note with my business card into the outer white box before sealing. This has worked well for me. If I need to ship say 3 ornaments to the same address, the cardstock idea will work very well. Thanks for the tip. I always like to hear how other folks do what I do for good ideas.
Thank you for all your tips Marie, that is so great!
This would also make a great way to store your ornaments.
You’re right! Gotta protect those beautiful bows!
I will defenetly try this.
This is a wonderful idea! Thanks for sharing
I’m so glad you’re excited to try!
Yay! I’m so glad it’s helpful!